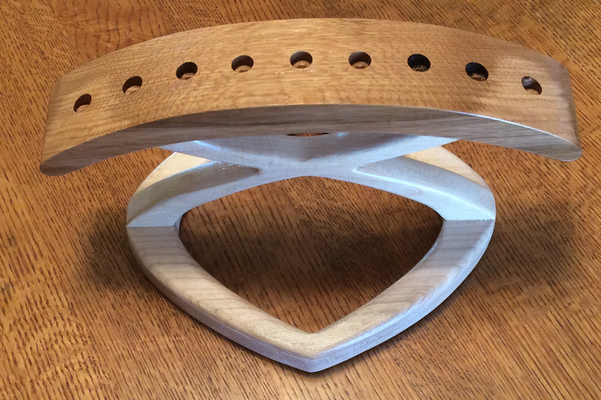
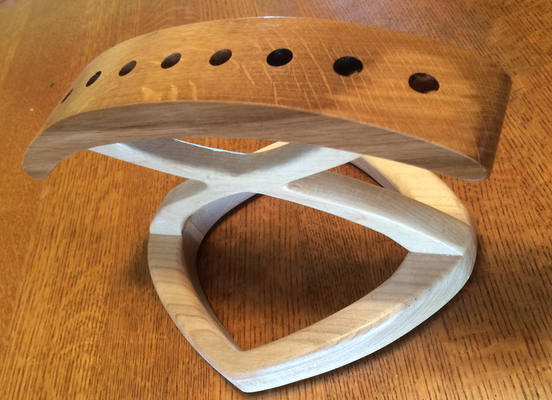
Candles need a home come time for 25th of Kislev, the beginning of Hanukkah. And what better home than a unified carving of sugar maple and white oak?
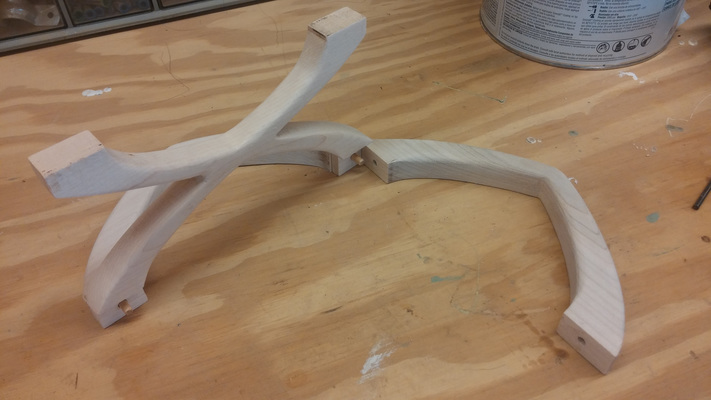
This menorah grasps an ordered natural character. The compliment of curves between the base and the legs of the menorah suggest the menorah grew out of its volition, while the symmetry of the base and legs tame the foundation. The expansive negative space promoted by the legs demonstrates the strength of the natural architecture. The arch gives purpose to the growth of the legs. The waving edge-on grains in the arch characterize the menorah as an elegant individual, prepared for eight days of light.

Construction
The Legs
The legs and base, both sugar maple, connect by a rabbit tongue at the foot of the leg. The top of the leg inserts into a mortise in the arch. I completed the legs with the following steps:
-
Trace outline of legs on 3/4 maple.
-
Rabbit tongues at the feet of the legs.
-
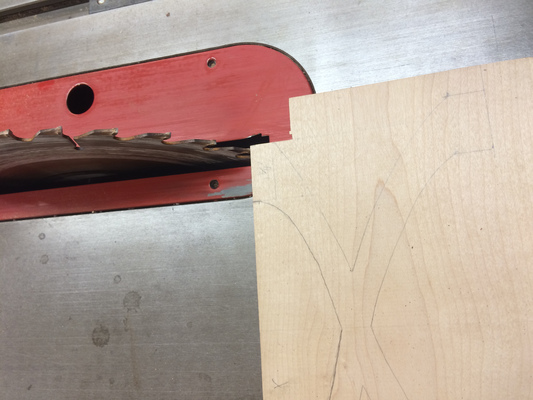
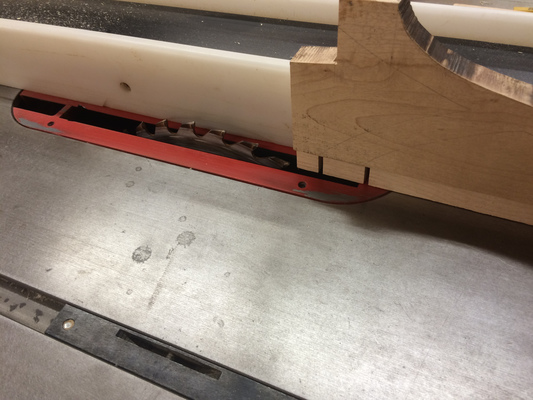
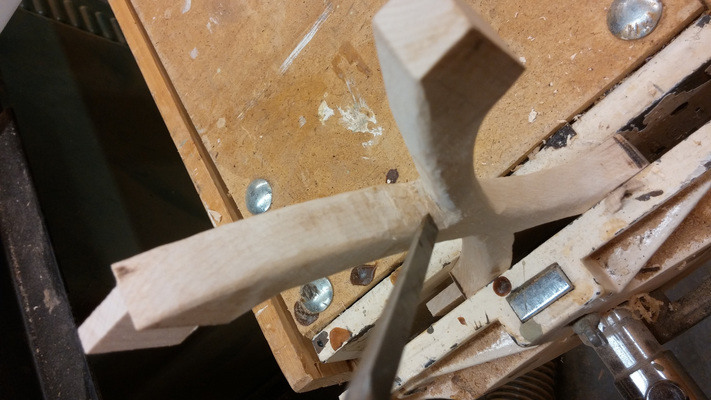
Cut top tenon on leg for arch-leg connection with the table saw.
-
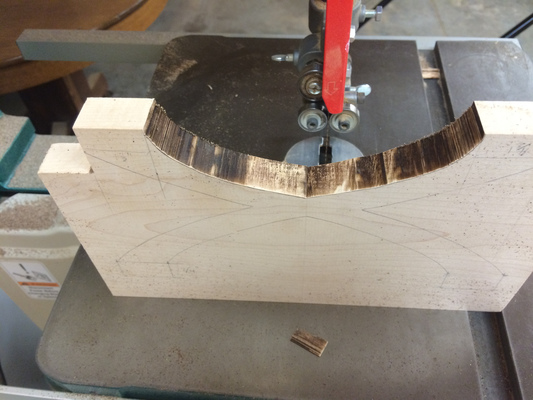
Rough cut shape of legs on the band saw.
-
Burr, chisel, and sand the legs to their final shape.
The Base
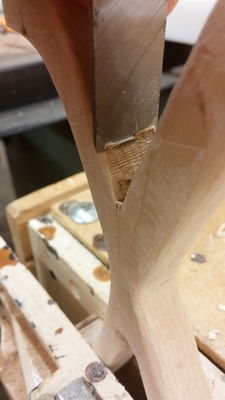
 The base consists of two sections, which join with the tongues of the legs. I
secured the connection by joining the two base section with a dowel through the
legs' tongues. The construction of the base went as follows:
The base consists of two sections, which join with the tongues of the legs. I
secured the connection by joining the two base section with a dowel through the
legs' tongues. The construction of the base went as follows:
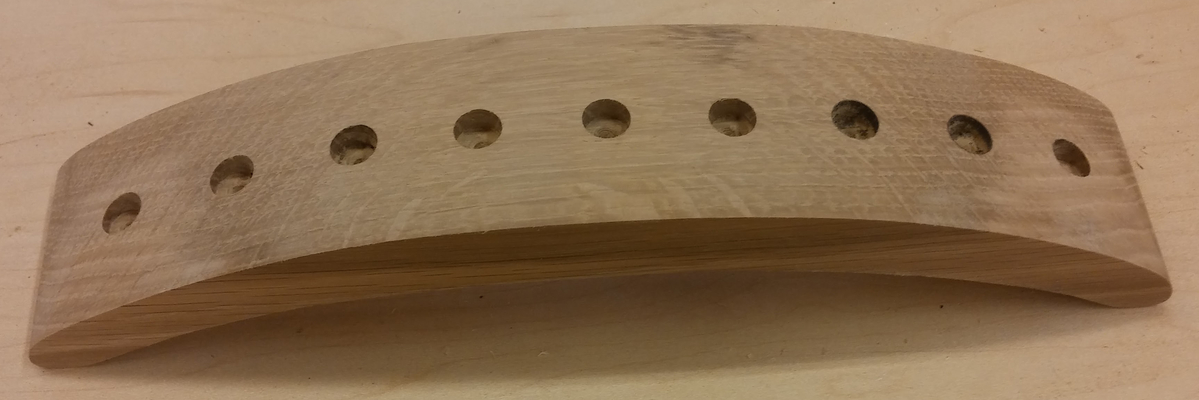
The Arch
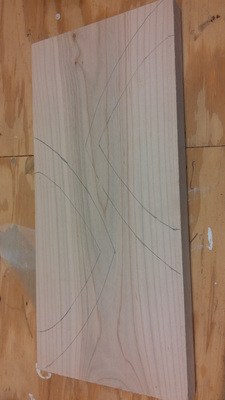
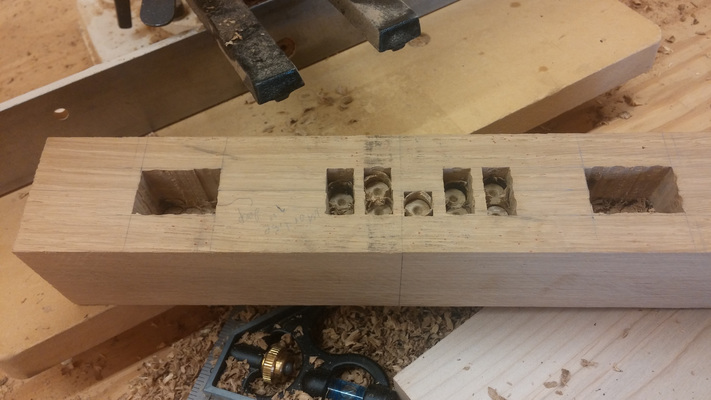
The arch includes nine holes on top, to hold the candles, and two mortises on the underside to join with the legs’ tenons. The arch required drilling holes and mortises before the arch was complete. This required me to trace the shape of the arch, and plan the depths of each hole and mortise. Construction went as follows:
-
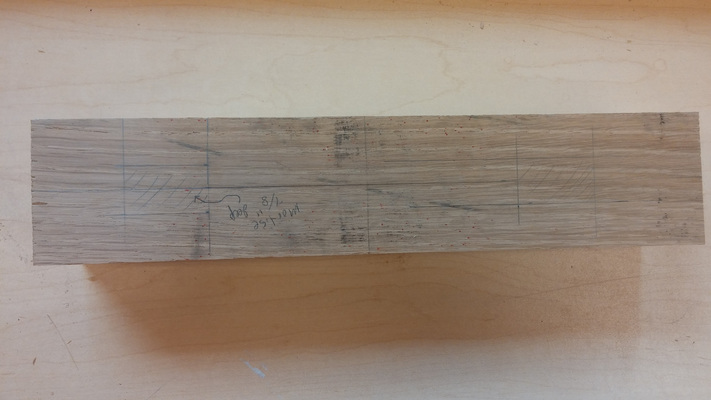
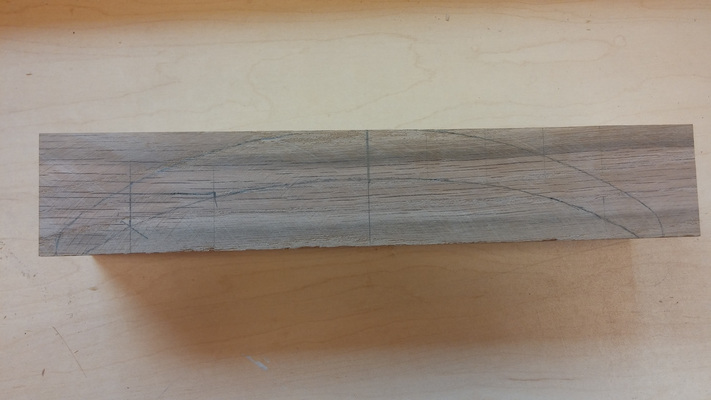
Trace shape of arch on 8/4 quartersawn white oak.
-
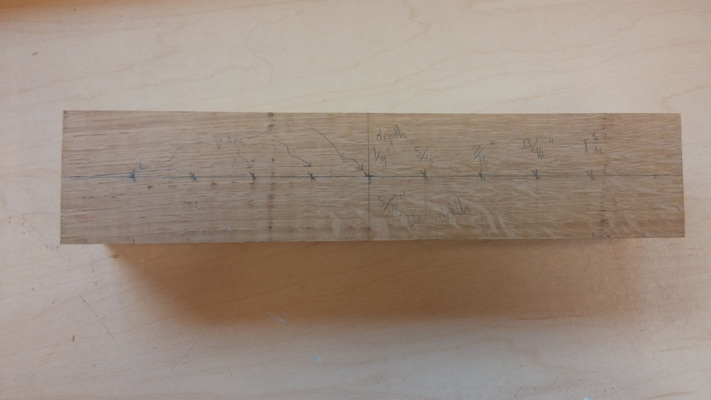
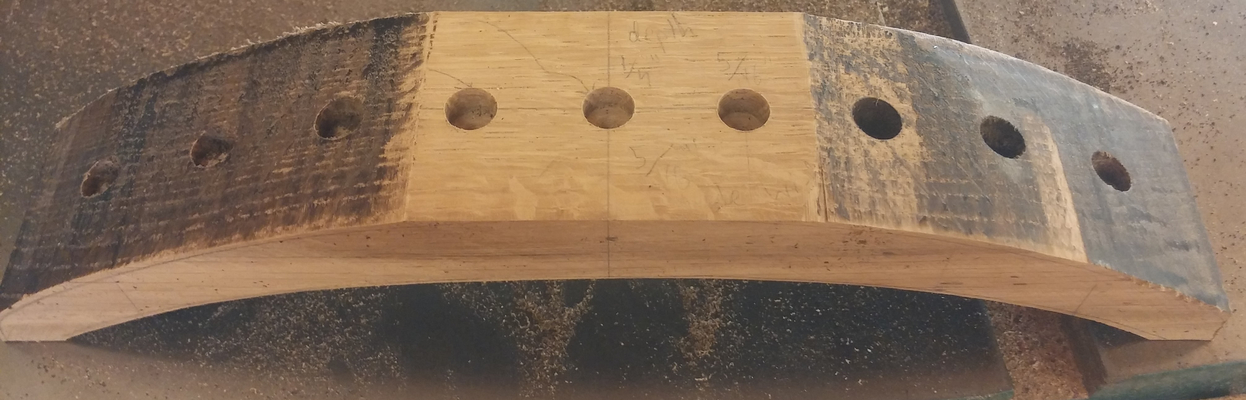
Mark the depths for each hole on top and the mortises on the bottom.
-
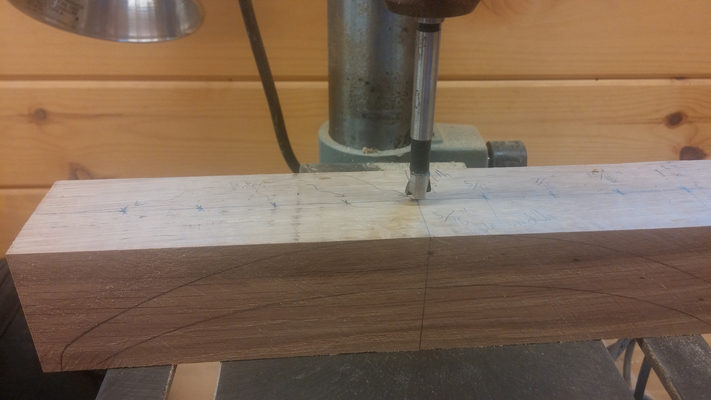
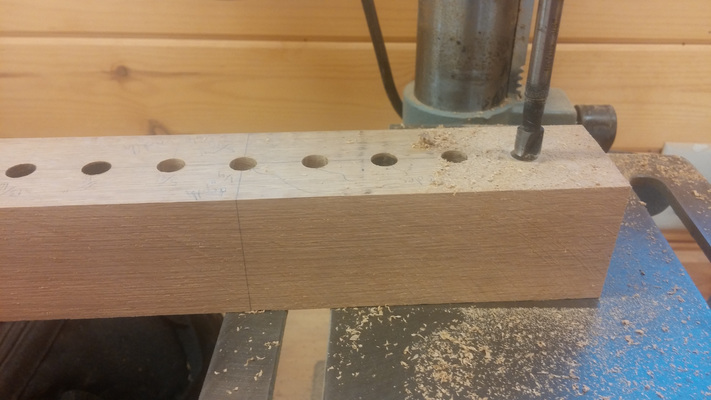
Drill nine 5/16$\in$ holes on top.
-
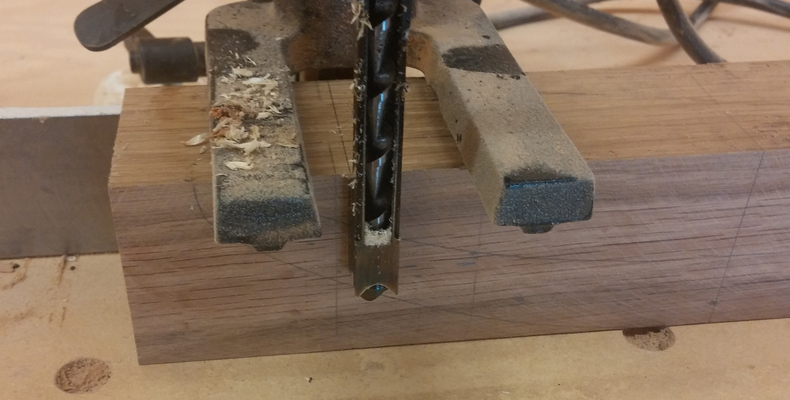
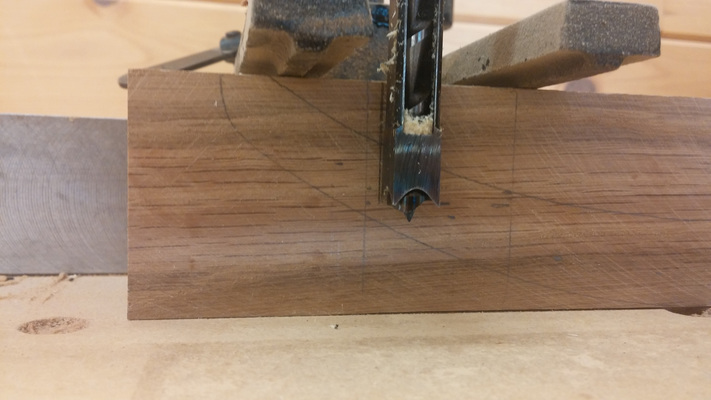
Drill mortise to accept legs’ tenons. Chisel out excess.
-
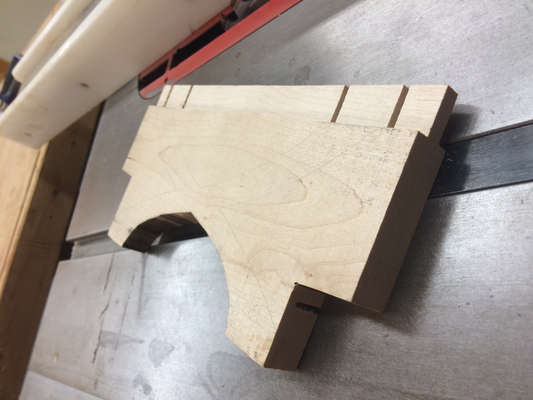
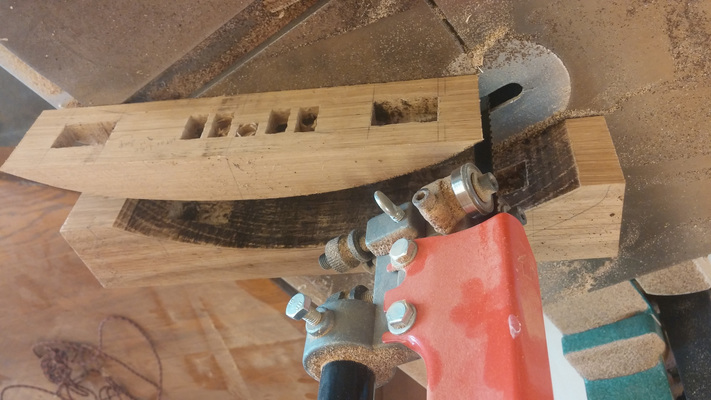
Rough cut arch shape on band saw.
-
Sand the arch using a belt sander and drum sander.
-
Complete the menorah, glue the arch to the legs + base.
Outlining Arch and Holes
Drilling the Candle Holes and Mortise
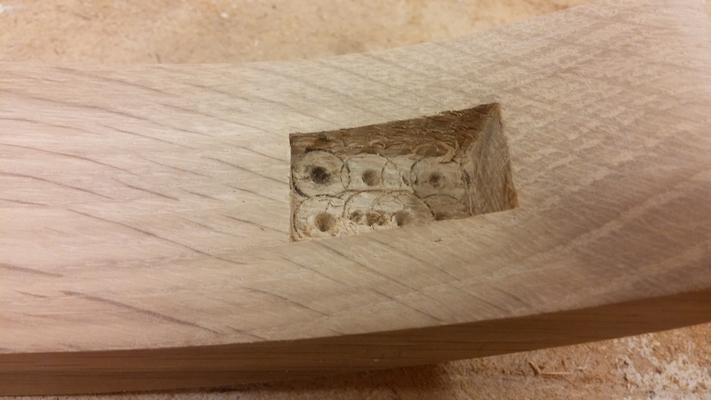
Carving the Arch
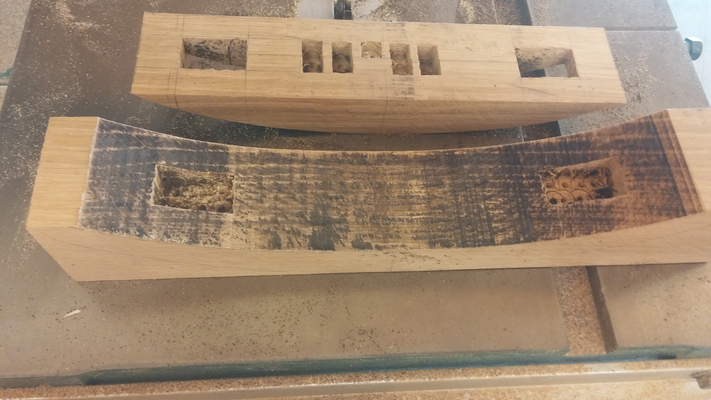
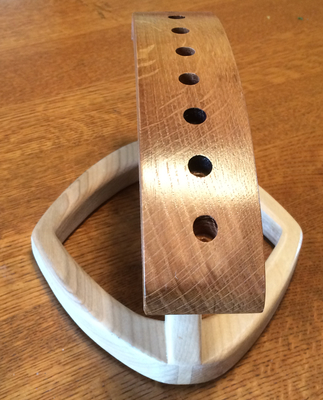
The Completed Arch