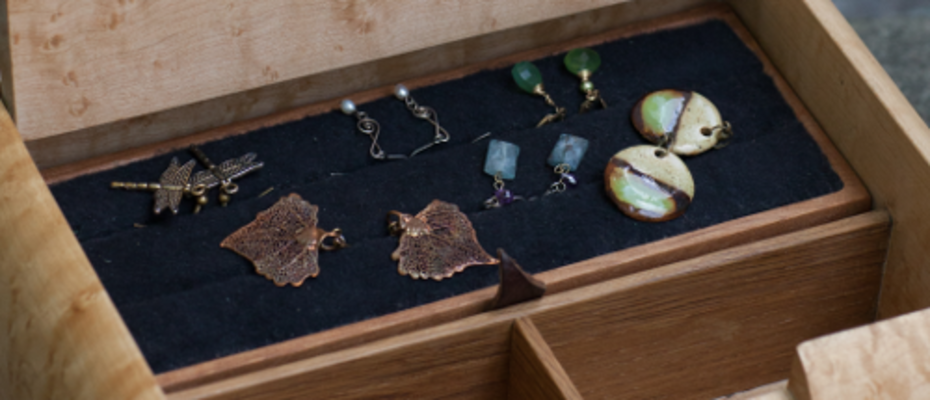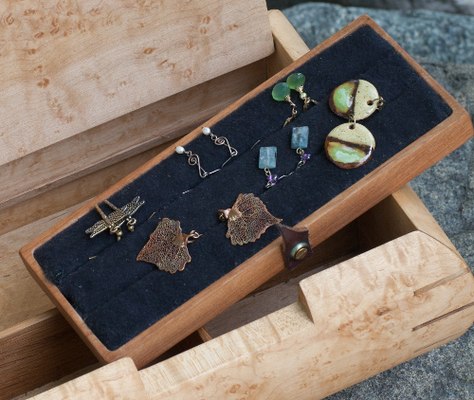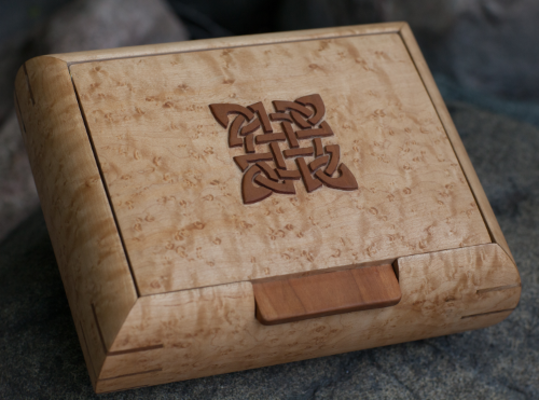
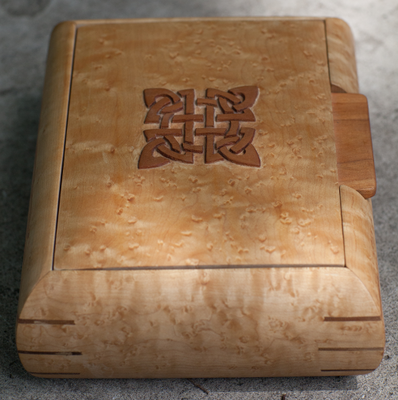
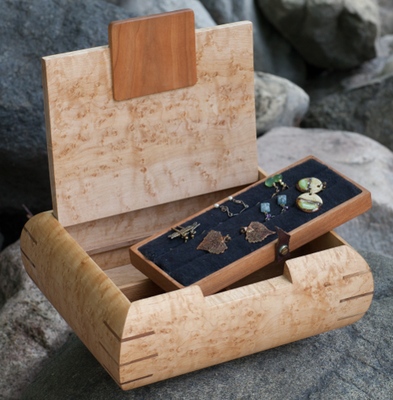
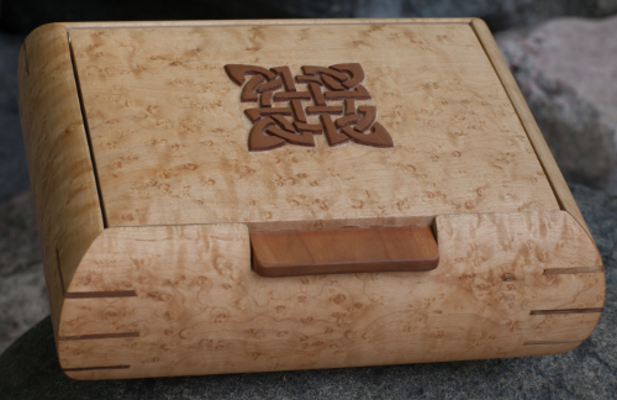
A few years ago I built a jewelry box out of Bird’s-Eye Maple and cherry as a gift. The rounded sides and lid frame the hand-carved Celtic knot as the focus of the box. The design is minimalist, yet elegant. Three compartments await inside the box, along with a padded tray which rests atop the back compartment.
Construction
I applied a variety of techniques while constructing this box, much of which I learned from Box-making Basics by David M. Freedman. The box features keyed, mitered, sides, rabbited slots in order to include supports for the tray, and a hollowed tray. Below is a short outline of the construction of the box, in addition to elaboration on some of the more complicated steps.
-
Cut Maple stock for sides and lid. Cut mitered corners on sides.
-
Cut rabbits in back side of box. Glue narrow lips in rabbits to support tray.
-
Cut notch out of top front for lid lip to rest.
-
Cut rabbits for the tray.
-
Cut lid. Cut and sand lid top to a curve. Leave flat square on top.
-
Glue Cherry block onto the flat portion of the lid.
-
Carve the Cherry block on the lid.
-
Route slot for lid lip.
-
Cut lid lip and glue to lid.
-
Drill lid pin-hinge hole in lid and sides.
-
Glue box together.
-
Cut key slots in each side. Glue in Black Walnut keys.
-
Sand sides to curves.
-
Carve tray from Cherry.
-
Cut and glue in partitions from Black Walnut.
Key Joints
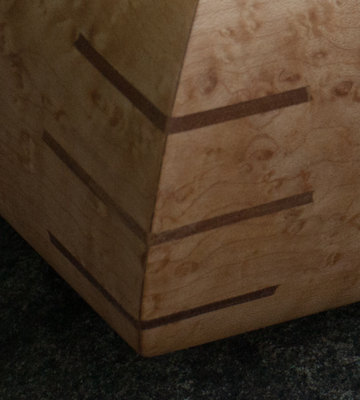 I reinforced each mitered side with three Black Walnut keys. I built a
sliding carriage on the table saw out of 4$\in\times\,$4$\in$ stock. The
carriage had a right angle slot rotated 45$^\circ$ angle to hold the box
while sliding over the table saw. Here
is an example.
Tray
In order to minimize tangling earrings or rings, I sought to build a tray with cushioned partitions. I carved the tray by lowering Cherry stock onto straight plunge router bit on a router table. I installed a jig on all four sides of the router table to prevent the router from carving through a tray wall. I wrapped soft foam in black velvet to make three logs, which I glued into the tray.
